
The standard 3D site plan rendering file formats are high-resolution JPG and PNG for web and presentations, print-ready PDF and TIFF for large-format boards and permit packages, and layered PSD for post-render editing. Most studios retain native scene files (3ds Max, SketchUp, Revit, Blender) and CAD interchange files (DWG, DXF) as source assets, so the format you need depends on the delivery channel, the required pixel dimensions, and whether the image will be edited downstream. For the majority of marketing, planning, and sales uses, one master TIFF or PNG plus a compressed JPG and a print-ready PDF covers every scenario.


Choosing the wrong deliverable is one of the most common and most avoidable problems in a rendering project. A professional 3D site plan rendering company can produce any of these outputs, but only if the brief states clearly where the image will live. This guide explains each format, shows when it makes sense, and gives you a simple way to specify exactly what you need before production starts.
Quick Answer: Which 3D Site Plan Rendering File Format Should You Choose?

Here is the short version for readers who want a fast answer.
- Website, email, and social media: JPG (or PNG when you need transparency or crisp linework).
- Printed boards, brochures, and signage: TIFF or print-ready PDF at 300 DPI.
- Zoning and planning submissions: PDF, often alongside high-resolution JPG or TIFF.
- Designer or marketer editing: Layered PSD, plus a flattened TIFF for reference.
- Archive and future reuse: Uncompressed TIFF master.
- CAD or BIM coordination: DWG or DXF, usually supplied by you rather than delivered by the rendering studio.
Next, the table below compares the most common 3D site plan rendering file formats at a glance.
| Use case | Typical format | Suggested pixel width | Color mode |
|---|---|---|---|
| Website hero image | JPG | 1,920 to 2,560 px | RGB (sRGB) |
| Email or social post | JPG | 1,200 to 2,000 px | RGB (sRGB) |
| Slide deck | JPG or PNG | 1,920 px | RGB (sRGB) |
| Brochure page (letter or A4) | PDF or TIFF | 2,550 to 3,300 px at 300 DPI | CMYK or printer profile |
| Presentation board (24 x 36 in) | TIFF or PDF | 5,400 to 10,800 px | CMYK or printer profile |
| Planning submission | PDF (plus JPG) | Match the agency checklist | RGB or as specified |
| Archive master | TIFF | Maximum available | RGB, 16-bit if offered |
What Are 3D Site Plan Rendering File Formats?
3D site plan rendering file formats are the digital file types a rendering studio delivers when a project is finished. Each format stores the same visual information in a different way, which changes file size, image quality, editability, and compatibility with other software.

In practice, you will see three families of files:
- Flattened images such as JPG, PNG, and TIFF. These are the final pictures.
- Document containers such as PDF. These wrap one or more images (and sometimes vector text) into a shareable package.
- Layered or source files such as PSD, DWG, and native 3D scenes. These allow editing, but they are not always part of a standard delivery.
If you are new to the topic, the overview in what a 3D site plan rendering actually is gives helpful context before you decide on deliverables.
Why the Format Matters More Than Most Clients Expect
A site plan rendering usually covers a large area: a subdivision, a campus, a mixed-use block, or a master-planned community. Because of that scale, the image often needs more pixels than a typical interior render. A format that compresses too aggressively can blur plant symbols, road markings, and building edges. Conversely, a format that is too heavy can crash email attachments and slow down web pages.
The right choice therefore protects three things:
- Visual quality at the final viewing size.
- Practical handling for the people who will open, print, or upload the file.
- Future flexibility if the design changes or the image is reused.
Raster Formats: JPG, PNG, and TIFF
Raster files store images as a grid of pixels. Every final 3D site plan rendering begins as a raster image, which is why these three formats appear in almost every delivery.

JPG (JPEG): The Everyday Workhorse
JPG is the most widely supported image format on the web. The Joint Photographic Experts Group maintains the standard, and virtually every device, browser, and email client can open it.
JPG uses lossy compression. That means the file shrinks by discarding some detail. At high quality settings, the loss is invisible to most viewers. At low settings, you will see blocky artifacts around edges, especially near text and thin lines.
Strengths of JPG:
- Small file size, so it loads fast.
- Universal compatibility.
- Ideal for websites, email, social media, and slide decks.
Limitations of JPG:
- No transparency support.
- Quality drops each time you re-save the file.
- Not the best choice for large-format print masters.
Best for: listing pages, investor emails, community websites, and social posts.
PNG: Crisp Detail and Transparent Backgrounds
PNG uses lossless compression, so no detail is thrown away. The W3C PNG specification describes it as a format designed for portable, lossless, and well-compressed raster graphics, and it also supports transparency.
Transparency matters for site plans more often than people expect. For example, a studio can deliver a cut-out of the site on a transparent background so your designer can place it over a brand-colored panel or a larger context map.
Strengths of PNG:
- Lossless quality with sharp linework and text.
- Alpha channel for transparent backgrounds.
- Excellent for legends, callouts, and overlays.
Limitations of PNG:
- Larger than JPG for photographic scenes with heavy texture.
- Not designed for CMYK print workflows.
Best for: web graphics, presentation overlays, and any design that needs a transparent background.
TIFF: The Print and Archive Master
TIFF is the format professionals reach for when quality cannot be compromised. The Library of Congress format description for TIFF shows why archives value it: it is a flexible, long-established raster format that supports high bit depths and lossless storage.
A TIFF can hold an enormous number of pixels without degradation, which makes it ideal for oversized prints such as sales center wall graphics, public hearing boards, and tradeshow banners.
Strengths of TIFF:
- Lossless or uncompressed quality.
- Supports high resolution, deep color, and alpha channels.
- Excellent as a long-term archive master.
Limitations of TIFF:
- Very large file sizes, often too big for email.
- Not supported natively by most web browsers.
Best for: large-format printing, print shop handoff, and a master copy you can always downsample later.
PDF: The Best Format for Sharing, Printing, and Submitting
PDF is not a picture format in the strict sense. It is a container that can hold raster images, vector text, and multiple pages in one file. That flexibility makes it the default for formal documents.
For a site plan rendering, a PDF usually contains the final image at print resolution, often with a title block, scale note, north arrow, legend, or project information.

Where PDF Shines
- Planning and zoning packets: Reviewers expect documents they can open reliably on any system.
- Proposals and pitch decks: A single PDF can combine the rendering, pricing, and scope.
- Print shop handoff: Print vendors accept PDF as a standard input.
- Multi-option sets: Phasing plans, alternate layouts, and day or night versions can live in one file.
PDF Cautions to Keep in Mind
- A PDF with a compressed embedded image is not a true master. Always request the TIFF or PNG as well.
- Vector text stays sharp, but the rendered artwork inside remains a raster image with a fixed pixel count.
- Color mode matters. Screen PDFs are usually RGB, while some print vendors prefer CMYK or a specific profile.
Best for: submissions, proposals, printing, and any workflow that needs one dependable file.
Layered PSD Files: Flexibility for Post-Production
A PSD (Photoshop Document) keeps the rendering broken into separate layers. Typical layers may include the base render, shadows, vegetation, water, vehicles, labels, and color adjustments.
Layered files matter when someone will keep working on the image after delivery. For example, a marketing team may want to change the signage text, swap seasonal landscaping, or remove a phase that did not get approved.
Strengths of PSD:
- Non-destructive edits to individual elements.
- Fast creation of variants, such as day and dusk, or Phase 1 and Phase 2.
- Easier brand alignment for color and labeling.
Limitations of PSD:
- Very large file size.
- Requires Photoshop or a compatible editor.
- Some studios include layered files only on request or for an extra fee.
If you suspect you will need edits, say so early. Building clean layers while a project is in production is far cheaper than reverse-engineering them later.
Vector and CAD Files: DWG, DXF, SVG, and AI
Many clients assume a rendering studio will hand back a CAD file. In reality, the data usually flows the other way. You send CAD or PDF base plans, and the studio converts them into a visual.
DWG and DXF
DWG and DXF are CAD formats used by architects, engineers, and surveyors. They store precise geometry, layers, and measurements. A rendering studio typically receives these files as input so the 3D model can match your actual lot lines, setbacks, roads, and building footprints.
Because the deliverable is an image, not an engineering drawing, studios generally do not return an edited DWG. If you need updated CAD drawings, that is a drafting task, not a rendering task.
SVG, AI, and EPS
These are vector graphics formats. They are useful for logos, north arrows, legends, and diagrams. Some studios supply vector versions of annotation layers (labels and legends) so your designer can restyle them. The rendered artwork itself remains raster.
Practical rule: treat CAD formats as inputs and image formats as outputs. For a clear list of what to send, see what to prepare before a site plan rendering project begins.
Native 3D Source Files: Why They Are Not Always Included
Behind every rendering is a 3D scene built in software such as 3ds Max, SketchUp, Blender, Revit, or Lumion. These native files contain models, textures, lighting setups, and render settings.

Most studios keep these files for three reasons:
- Intellectual property. The studio’s asset libraries, materials, and workflows are part of its production value.
- Compatibility. A scene built in one version of one program often fails to open correctly elsewhere.
- Revision efficiency. Keeping the scene allows quick edits if you request changes.
If you need native files for a special case, such as an in-house team that will continue the work, discuss it before the project starts. Expect a separate agreement and likely a different price. Each program also has its own strengths, which the guide on the best software for 3D site plan rendering explains.
Resolution, DPI, and Color: The Details Behind Every Format
A format alone does not guarantee quality. Pixel dimensions, DPI, and color mode decide whether an image looks sharp at its final size.
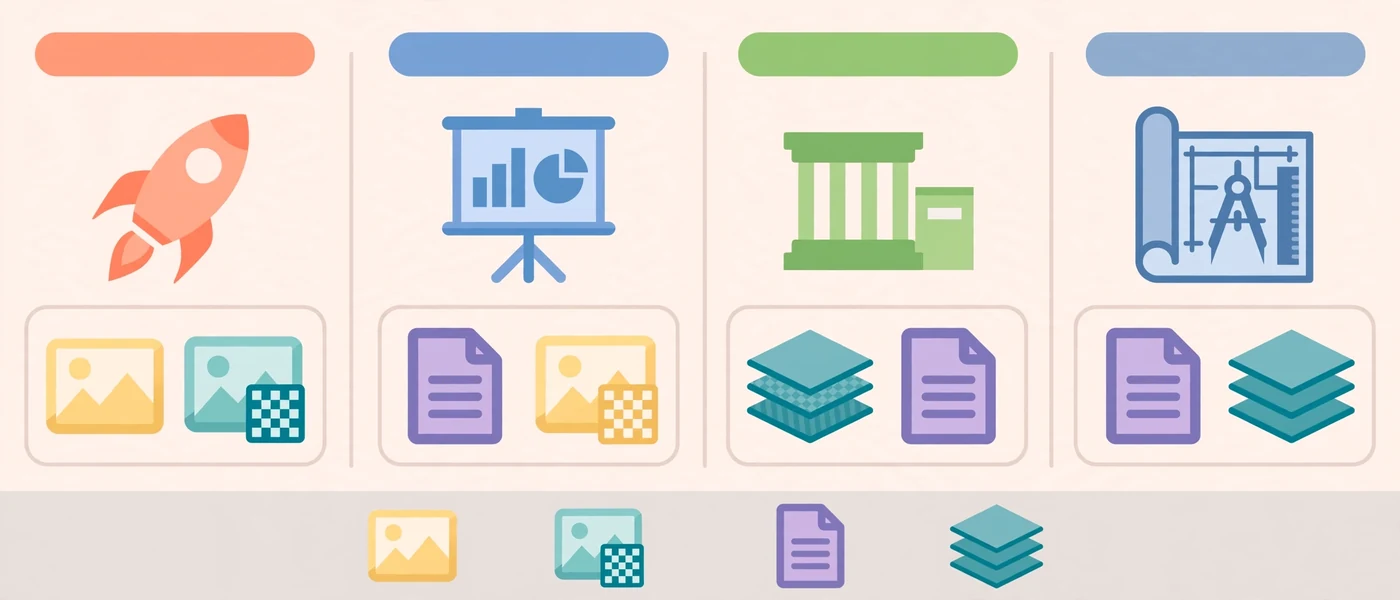
Understanding Pixels vs DPI
- Pixels are the actual dots in the image. This number is fixed once the render is complete.
- DPI (dots per inch) describes how densely those pixels are packed when printed.
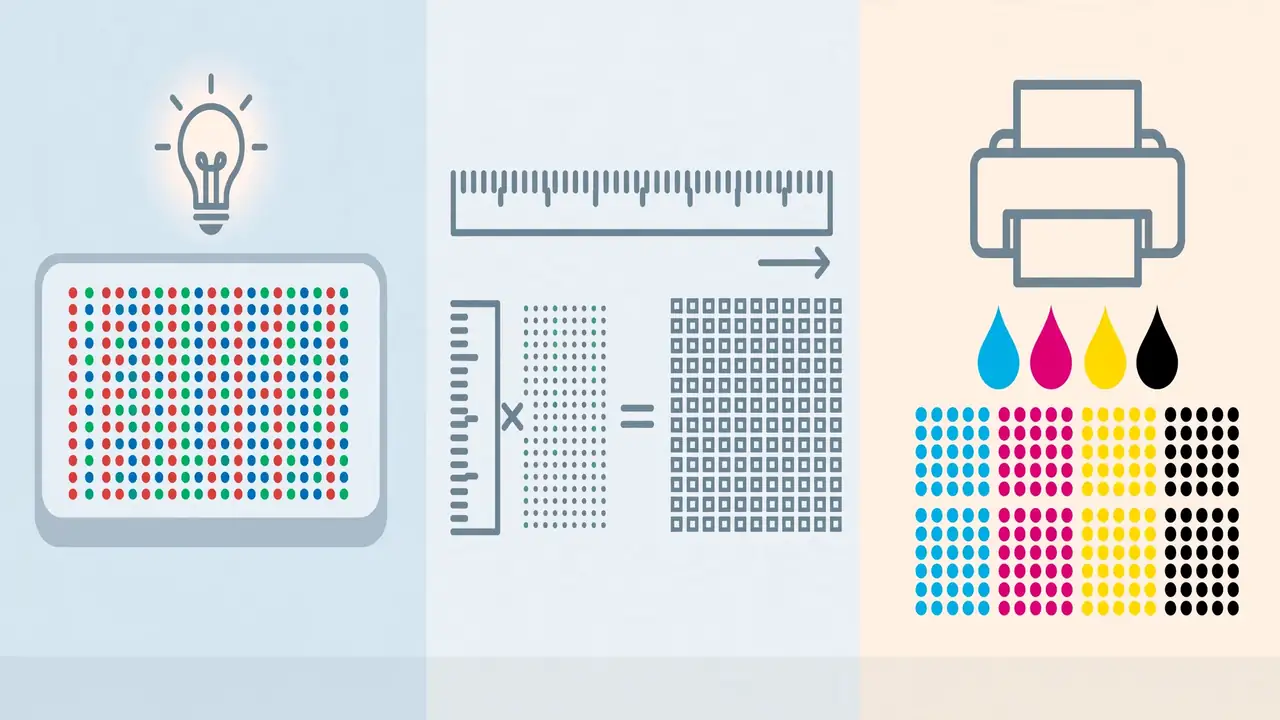
A simple formula helps: print size in inches x DPI = required pixels. For instance, a 36 x 24 inch board at 300 DPI needs 10,800 x 7,200 pixels. The same board at 150 DPI, common for large boards viewed from a distance, needs 5,400 x 3,600 pixels.
Recommended Specs by Use Case
| Use case | Typical format | Suggested pixel width | Color mode |
|---|---|---|---|
| Website hero image | JPG | 1,920 to 2,560 px | RGB (sRGB) |
| Email or social post | JPG | 1,200 to 2,000 px | RGB (sRGB) |
| Slide deck | JPG or PNG | 1,920 px | RGB (sRGB) |
| Brochure page (letter or A4) | PDF or TIFF | 2,550 to 3,300 px at 300 DPI | CMYK or printer profile |
| Presentation board (24 x 36 in) | TIFF or PDF | 5,400 to 10,800 px | CMYK or printer profile |
| Planning submission | PDF (plus JPG) | Match the agency checklist | RGB or as specified |
| Archive master | TIFF | Maximum available | RGB, 16-bit if offered |
Use these numbers as starting points. Always confirm with your printer or the reviewing agency, because requirements vary.
RGB vs CMYK in Plain Language
- RGB is built for screens. It covers a wider range of vivid colors.
- CMYK is built for ink on paper. Some bright greens and blues look slightly duller after conversion.
A smart workflow keeps an RGB master and converts to CMYK only at the final print stage, using the printer’s own profile.
Which 3D Site Plan Rendering File Format Do You Actually Need?
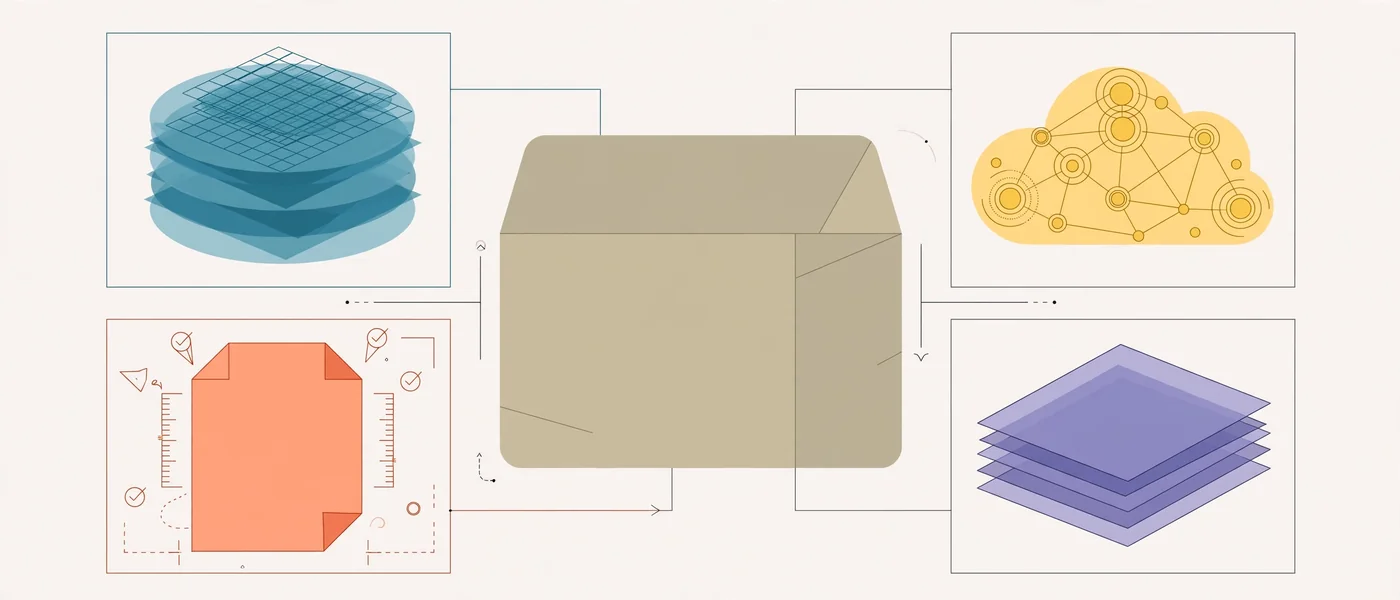
Now for the practical question. The answer depends on who will see the image, where, and what they will do with it.
Comparison Table: Format by Audience and Goal
| Your goal | Primary format | Backup format | Why |
|---|---|---|---|
| Launch a lot or home sales page | JPG | PNG | Fast loading and wide compatibility |
| Win a contract with a pitch deck | JPG | Reliable layout plus easy slide insertion | |
| Print a sales center wall graphic | TIFF | Lossless quality at large pixel counts | |
| Submit to a planning department | TIFF | Official packets favor PDF | |
| Let your designer restyle labels | PSD | Flattened TIFF | Layers allow clean edits |
| Create seasonal or phased variants | PSD | PNG | Easy to toggle elements |
| Preserve the project long term | TIFF | PNG | Lossless master for future reuse |
Match the Format to the Business Outcome
Think about the decision the image has to support. A site plan that helps secure financing needs to look flawless in a printed investor book. A site plan that drives online lot reservations needs to load quickly on a phone. Those are different jobs, so they deserve different files.
If you work in development, the article on how commercial real estate developers use 3D site plan renderings shows how each stage of a project calls for a different output.
A Practical Delivery Package for Most Projects
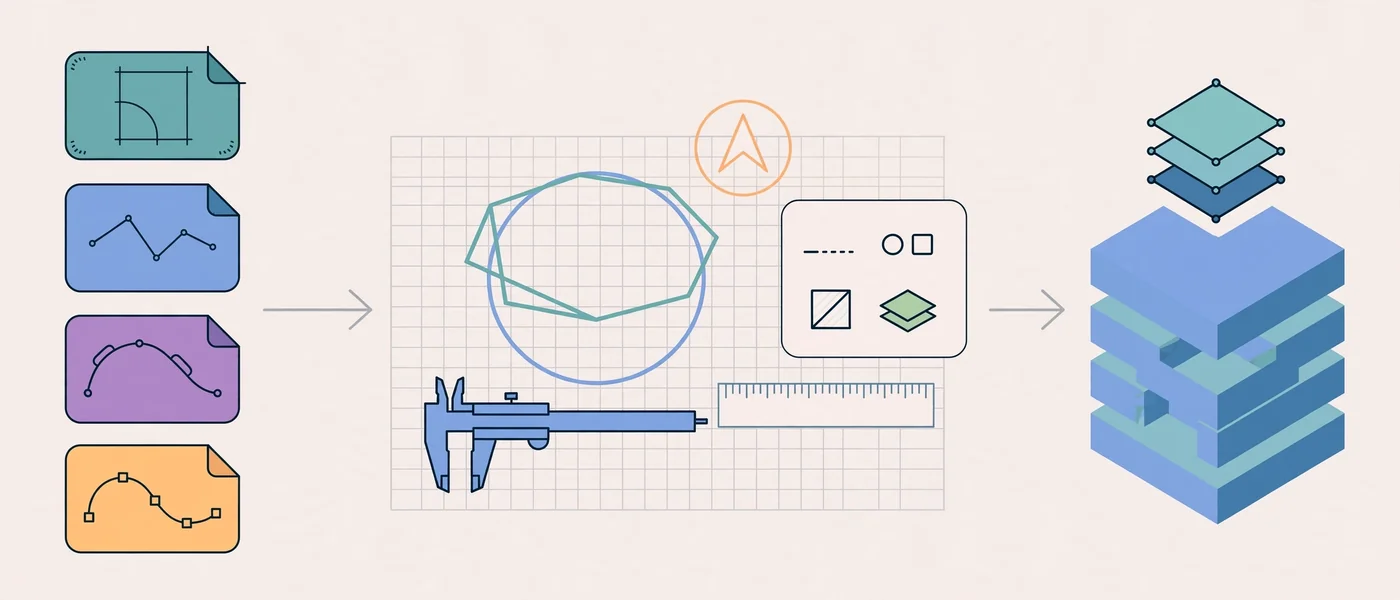
Many clients do not want to think about formats at all. If that sounds like you, ask for this balanced package:
- One master TIFF or high-resolution PNG at full resolution for archive and print.
- One web-optimized JPG sized for screens.
- One print-ready PDF with the rendering and any required annotations.
- Optional layered PSD if your team plans to edit the image.
This combination covers nearly every scenario without creating confusion. Moreover, it keeps your files organized, because each version has a clear purpose.
How to Specify File Formats in Your Brief: Step-by-Step

Getting formats right is easy when you write them into the brief. Follow these steps.
- List every place the image will appear. Include the website, brochures, signage, social media, and any agency submission.
- Note the largest print size. The biggest board decides the pixel dimensions for the master.
- Request transparency if needed. Say so when you want a cut-out or an overlay.
- Ask about layers. Confirm whether a PSD is included or priced separately.
- State your color needs. Mention RGB for screens and any printer-specific CMYK profile.
- Define revisions. Clarify whether revised versions come in all formats or only the primary one.
- Agree on file naming and delivery. Decide how files will be named and shared (cloud link, FTP, or download).
A brief that names every end use up front removes most of the guesswork, and it keeps the studio from having to re-export files after approval.
Common Mistakes When Choosing 3D Site Plan Rendering File Formats
Even experienced teams slip on file details. Watch for these frequent errors.
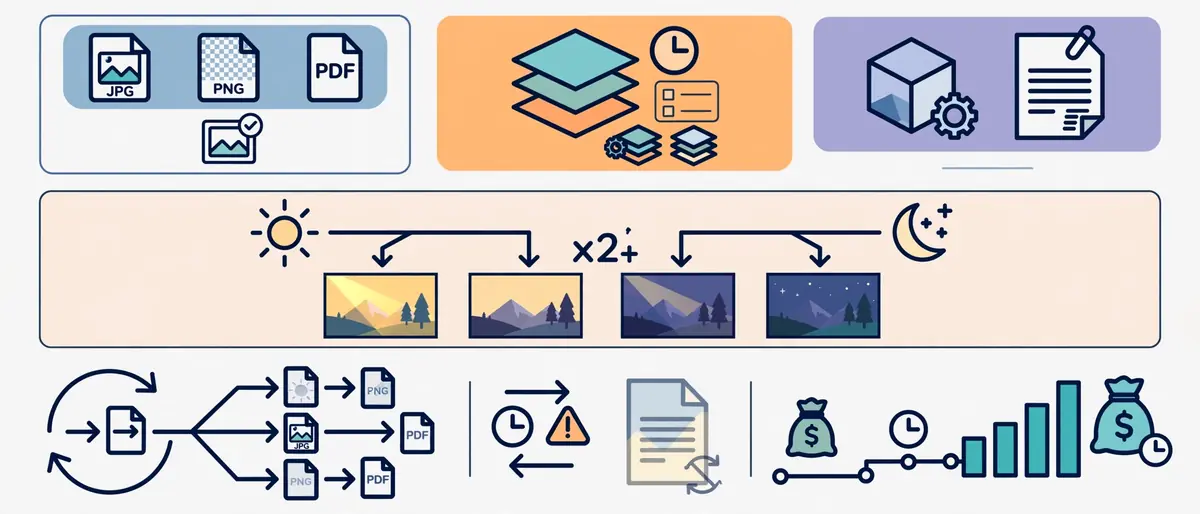
- Asking only for a JPG. A single compressed file limits future use, especially for print.
- Requesting a CAD file as a final deliverable. A rendering is an image, not a drawing.
- Ignoring pixel dimensions. A large board printed from a web-sized image looks soft.
- Printing from RGB without checking the profile. Colors can shift on press.
- Forgetting transparency. A flattened JPG cannot sit cleanly over a colored background.
- Compressing a TIFF into a PDF and calling it a master. Embedded compression may reduce quality.
- Skipping the layered file request. Edits become costly when no layers exist.
- Not testing a sample. A quick test print or upload prevents expensive surprises.
Expert Tips for Getting the Most From Your Files
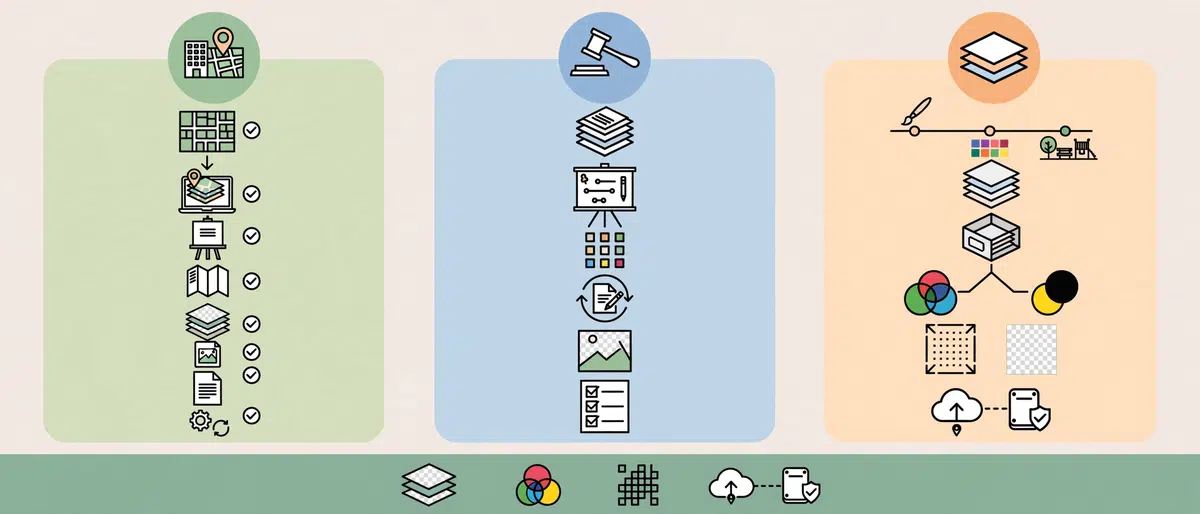
Rendering teams see the same patterns across many projects. These tips help you avoid rework.
- Request the master at the largest size you might ever need. Downsizing is easy. Upsizing is not.
- Keep a naming system. Use project name, version, format, and date, such as
riverbend-siteplan-v3-print.tif. - Store the master in two places. Cloud storage plus an external drive protects against loss.
- Use sRGB for the web. It displays consistently across browsers and devices.
- Compress JPGs carefully. Quality settings around the upper range keep linework clean.
- Ask for day and dusk versions only if you will use both. Extra variants add time and cost.
- Validate agency specs early. Municipal submission rules often include file size limits and page counts.
- Request a legend as a separate transparent PNG. It makes updates far quicker.
How File Formats Affect Cost, Timeline, and Revisions
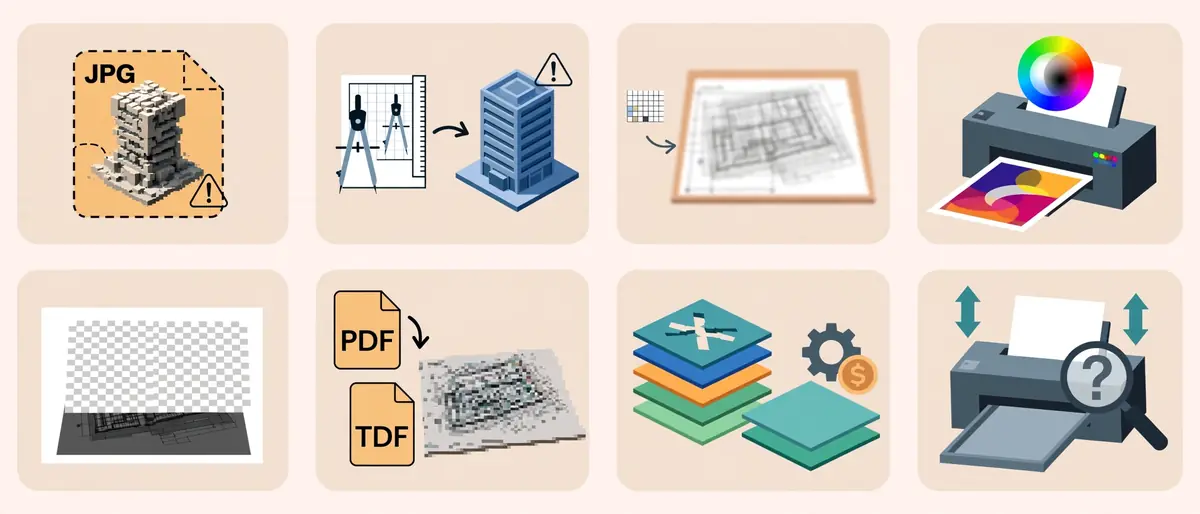
Format requests can influence both budget and schedule, even though the render itself is the same.
- Standard outputs (JPG, PNG, PDF) are typically included because they are exported from the finished image.
- Layered PSD files take extra time because artists must organize and clean the layers.
- Native scene files often require a separate agreement.
- Multiple variants (day, dusk, phases) multiply render and export work.
For a realistic view of how scope, scale, and deliverables shape the price, review the pricing breakdown for 3D site plan renderings. Planning formats upfront keeps the quote accurate and avoids change orders later.
Revision Rounds and Format Versions
Revisions are another place where format planning pays off. When you request changes, confirm whether the studio will redeliver every format or only the primary one. A clear answer keeps your files in sync and prevents someone from printing an outdated version.
Real-World Scenarios: Picking Formats in Practice
Abstract advice only goes so far. The three scenarios below show how the same rendering can need very different files.
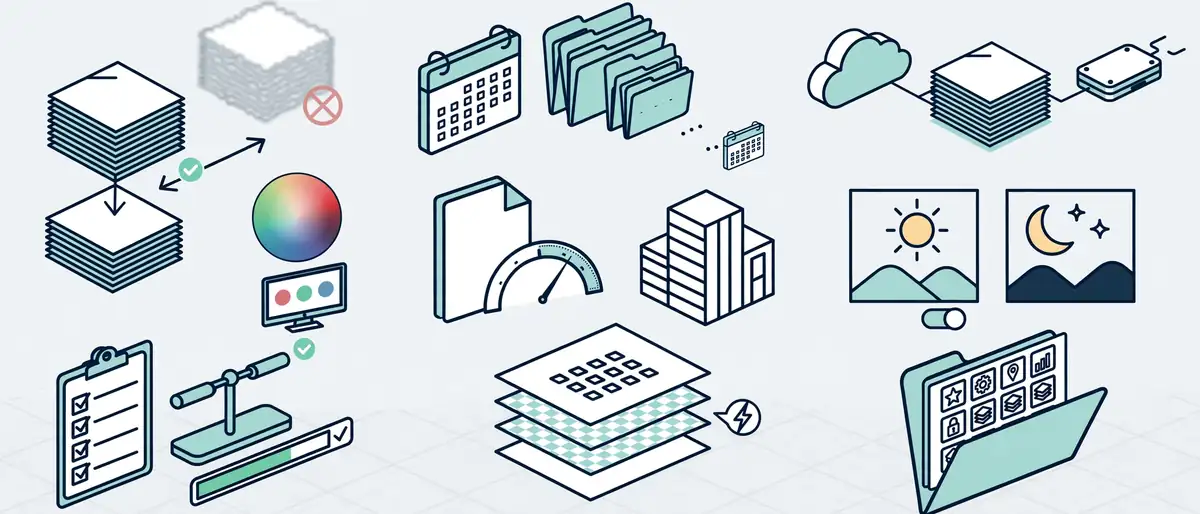
Scenario 1: A Builder Launching a New Subdivision
A builder plans an online lot map, a printed sales center board, and a brochure. The website needs a fast JPG, while the board needs a TIFF at 150 to 300 DPI. The brochure needs a PDF-ready page. One master file feeds all three, so the builder requests a TIFF master, a web JPG, and a print PDF.
Scenario 2: A Developer Preparing a Zoning Hearing
A developer needs a clear, trustworthy visual for a public meeting and the official application. The agency accepts PDF packets only, and the board members will see large printed boards. Therefore the developer asks for a PDF for submission, a TIFF for the hearing boards, and a PNG legend that can be updated if conditions change.
Scenario 3: A Marketing Team Running Phased Campaigns
A marketing team expects the master plan to evolve over two years as phases open. They need to update labels, add amenities, and show completed sections in color. A layered PSD saves them from commissioning a new render for every small change, and a flattened TIFF keeps a clean record of each approved version.
What These Scenarios Teach
- Start with the end use. The channel decides the format, not the other way around.
- Request a master early. Every other version can be derived from it.
- Plan for change. Layers and transparent assets reduce long-term cost.
- Confirm requirements with outside parties. Agencies and printers often publish their own rules.
Delivery Checklist Before You Approve the Final Files
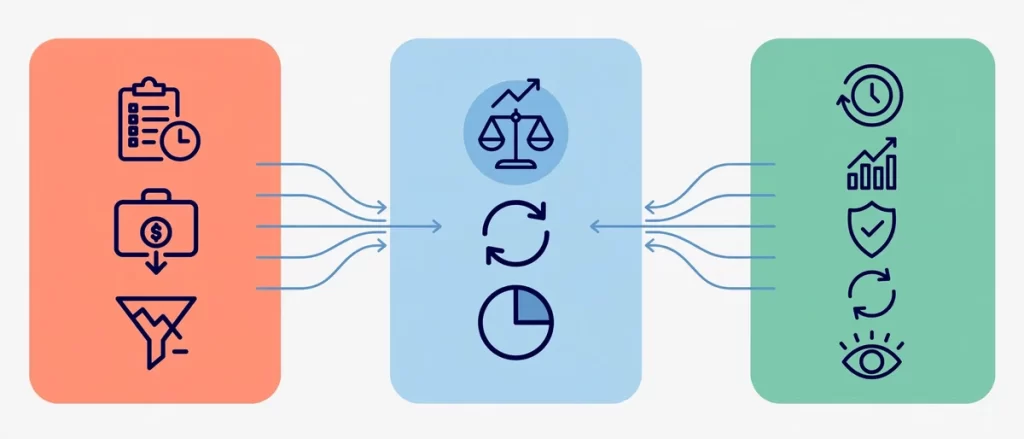
Before you sign off, run through this quick list.
- Pixel dimensions match the largest planned print size.
- A lossless master (TIFF or PNG) is included.
- A web-optimized JPG opens quickly on mobile.
- The PDF displays correctly on another computer.
- Color mode matches the intended use (RGB or CMYK).
- Transparent versions are provided if needed.
- Layered PSD is included or intentionally excluded.
- File names are clear and consistent.
- Legends, scale bars, and north arrows are legible at final size.
- Backups are stored in at least two locations.
Frequently Asked Questions About 3D Site Plan Rendering File Formats
What are the most common 3D site plan rendering file formats?
The most common 3D site plan rendering file formats are JPG, PNG, TIFF, and PDF. JPG and PNG serve digital use, while TIFF and PDF serve print and formal submissions. Layered PSD is available when edits are expected.
Which file format is best for printing a 3D site plan rendering?
TIFF is usually the best choice for printing because it is lossless and handles very high pixel counts. A print-ready PDF is also widely accepted by print shops. Always match the pixel dimensions to the board size and confirm the color profile with your printer.
Is JPG or PNG better for a site plan rendering?
JPG is better for fast-loading web pages and email because the files are smaller. PNG is better when you need sharp linework, text, or a transparent background. Many projects benefit from receiving both.
Do rendering studios deliver CAD files like DWG or DXF?
Usually not. Studios typically receive DWG or DXF files as inputs to build the 3D model, then deliver images as outputs. If you need updated engineering drawings, that is a drafting service.
Will I receive the native 3D scene files?
Most studios keep native scene files for intellectual property and compatibility reasons. You can request them in special cases, but expect a separate agreement and possibly an extra fee. Discuss this before the project begins.
What resolution do I need for my 3D site plan rendering?
Resolution depends on the final use. Web images are often 1,920 to 2,560 pixels wide. A 24 x 36 inch board at 300 DPI needs 7,200 x 10,800 pixels, while 150 DPI needs about 3,600 x 5,400 pixels. Share your largest print size so the studio can render accordingly.
Can I get a layered PSD with my 3D site plan rendering?
Yes, many studios can provide layered PSD files, often as an add-on. Layers separate elements such as vegetation, shadows, and labels, which makes later edits faster. Request this during the briefing stage.
Which 3D site plan rendering file format works best for planning submissions?
PDF is the most common choice for planning and zoning submissions because it opens consistently across systems. Some agencies also request high-resolution JPG or TIFF files. Check the local checklist for page size, file size limits, and color requirements.
How many file formats should I ask for?
Most projects work well with a master TIFF or PNG, a compressed JPG, and a print-ready PDF. Add a PSD only when your team plans to edit the image. This balanced package keeps costs reasonable and covers nearly every use.
Conclusion: Choose the Format That Matches the Job
Understanding 3D site plan rendering file formats saves time, money, and frustration. JPG and PNG power digital marketing. TIFF and PDF protect print quality and support formal submissions. PSD gives your team room to adapt, and CAD or native files usually stay on the input or studio side.
The simplest path is to describe your end uses at the start, request a master plus two or three working formats, and confirm pixel dimensions before production begins. With that clarity, every file in your delivery package earns its place.
Ready to get a site plan that works across web, print, and approvals? Request your custom 3D site plan rendering quote and tell us where your image will be used. Our team will recommend the exact deliverables you need and handle the technical details for you.